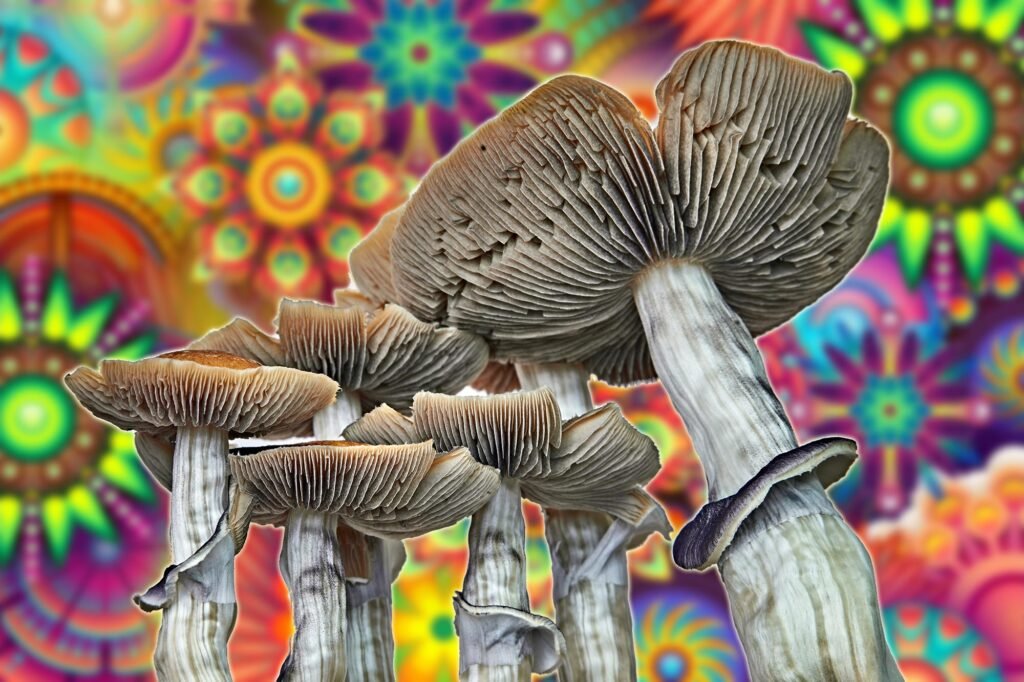
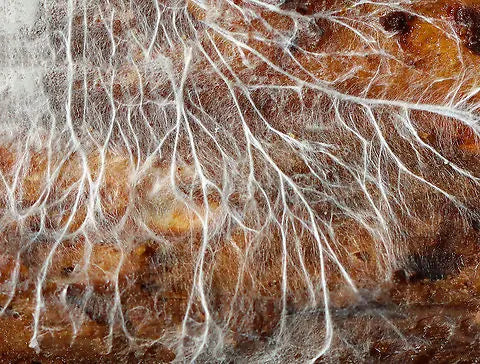
Next Level 100% Mycelium B+ Magic Mushroom Grow Kit
Next Level 100% Mycelium B+ Magic Mushroom Grow Kit Guide
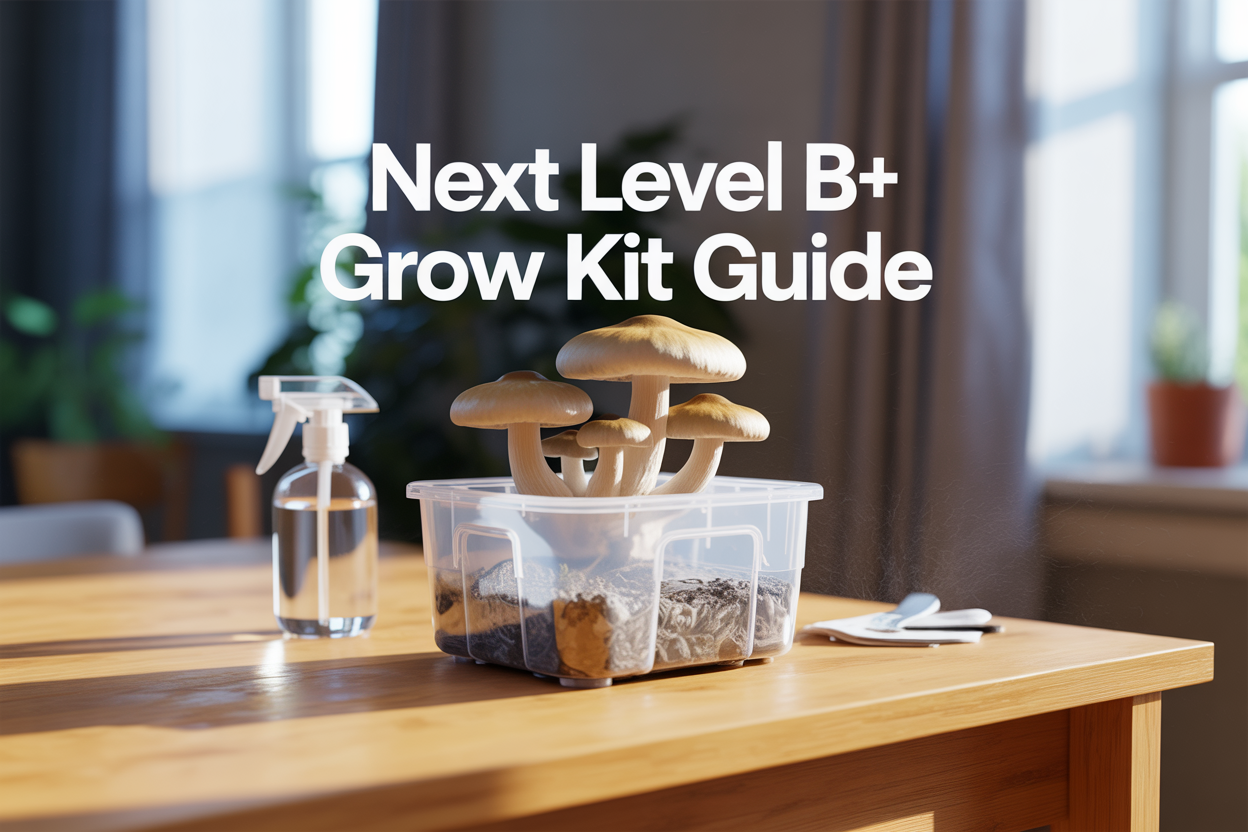
The Next Level 100% Mycelium B+ Magic Mushroom Grow Kit makes home cultivation accessible for beginners and experienced growers alike. This comprehensive guide walks you through every step of growing B+ mushrooms, a popular strain known for its reliability and generous yields.
This guide is designed for home cultivators who want to maximize their grow kit’s potential and achieve consistent results. You’ll learn proper setup techniques that set the foundation for healthy mushroom development, plus daily care routines that keep your mycelium thriving throughout the growing cycle.
We’ll cover the complete activation process to get your kit producing mushrooms quickly, followed by proven harvesting methods that capture peak potency. You’ll also discover how to troubleshoot common issues like contamination, slow growth, and environmental problems that can derail your harvest.
While B+ mushrooms differ from wild varieties like psilocybe azurescens in their growing requirements, this kit eliminates the guesswork with pre-colonized substrate ready for immediate use.
Understanding Your 100% Mycelium B+ Magic Mushroom Grow Kit

What Makes B+ Strain Superior for Beginners
B+ mushrooms represent the gold standard for newcomers to mushroom cultivation. This strain forgives mistakes that would derail other varieties, making it perfect for first-time growers. B+ mushrooms adapt to temperature fluctuations better than most strains, thriving in conditions ranging from 70-80°F rather than demanding precise climate control.
The growth rate strikes an ideal balance – fast enough to maintain excitement but slow enough to catch and correct issues before they become problems. B+ produces substantial flushes with minimal intervention, often yielding multiple harvests from a single kit. The mushrooms themselves grow large and robust, making harvest timing more obvious than with delicate varieties that require microscopic examination.
Most importantly, B+ demonstrates remarkable resistance to contamination compared to more sensitive strains. While other varieties might succumb to minor bacterial or mold intrusions, B+ continues producing healthy fruit bodies even in less-than-perfect conditions.
Benefits of 100% Mycelium vs Traditional Substrate Kits
Traditional substrate kits mix mycelium with materials like straw, grain, or wood chips, creating potential weak points where contamination can take hold. Pure mycelium kits eliminate these vulnerabilities by providing a completely colonized growing medium from day one.
| Feature | 100% Mycelium Kit | Traditional Substrate Kit |
|---|---|---|
| Contamination Risk | Minimal | Moderate to High |
| Setup Time | 5-10 minutes | 30-60 minutes |
| Success Rate | 90%+ | 60-80% |
| Flush Timing | Predictable | Variable |
| Yield Consistency | High | Moderate |
The colonization process has already completed before you receive your kit, meaning mushrooms can begin forming within days rather than weeks. This pre-colonized state also means stronger mycelium networks that produce more uniform mushroom clusters and higher overall yields per flush.
Essential Components Included in Your Kit
Your complete kit arrives with everything needed for immediate cultivation:
-
Fully colonized mycelium block: The heart of your operation, pre-colonized and ready for fruiting
-
Humidity tent: Clear plastic covering that maintains optimal moisture levels
-
Spray bottle: Fine-mist sprayer for daily maintenance
-
Detailed instruction guide: Step-by-step process with visual references
-
Perlite substrate: Moisture-retaining base layer for humidity control
Some premium kits also include pH test strips and thermometer stickers for precise environmental monitoring. The mycelium block comes sealed in sterile packaging and should appear completely white with no discoloration or unusual odors upon arrival.
Shelf Life and Storage Requirements
Unopened kits maintain viability for 3-6 months when stored properly in refrigeration between 35-40°F. Never freeze your kit, as this destroys the living mycelium network. Room temperature storage dramatically reduces shelf life to just 2-3 weeks.
Before activation, keep the kit in its original packaging in the main refrigerator compartment, away from the freezer section. Check periodically for any signs of yellowing or dark spots on the mycelium block, which indicate declining freshness.
Once activated, the kit must remain at room temperature and cannot return to storage. The fruiting process begins immediately upon exposure to oxygen and humidity, so plan your cultivation timing accordingly. Peak potency occurs when you use fresh kits within the first month of purchase.
Pre-Setup Preparation for Maximum Success

Creating the Ideal Growing Environment
Your B+ mushrooms need specific conditions to thrive, and getting this right from the start makes all the difference. Temperature control sits at the heart of successful cultivation. Keep your growing area between 70-75°F (21-24°C) consistently. Fluctuations stress the mycelium and can trigger contamination issues. A basic room thermometer helps you monitor this, but avoid placing your kit near heating vents, windows, or drafty areas.
Humidity plays an equally crucial role. B+ mushrooms love moisture levels around 80-90%, but achieving this without creating a breeding ground for unwanted mold requires balance. The kit itself maintains much of this humidity, but the surrounding environment should feel comfortably moist without being stuffy.
Lighting needs stay minimal but important. Indirect natural light works perfectly – think of a spot near a window but not in direct sunlight. Artificial light from regular room lighting suffices too. Mushrooms don’t photosynthesize like plants, but light helps trigger proper formation and growth patterns.
Air circulation prevents stagnant conditions that invite contamination. A gentle breeze from a nearby fan (not pointing directly at your kit) creates the perfect airflow. Fresh air exchange happens naturally in most rooms, but avoid completely sealed spaces like closets or basements without ventilation.
Choose a location away from high-traffic areas, pets, and potential contaminants. A spare bedroom, dedicated growing space, or quiet corner of your home works best.
Sterilization Techniques to Prevent Contamination
Contamination kills more mushroom grows than any other factor, making sterilization your best defense. Start with your hands – wash thoroughly with antibacterial soap before any interaction with your kit. Alcohol-based hand sanitizer provides extra protection, especially when you can’t access soap and water immediately.
Surface preparation requires equal attention. Clean your work area with a 10% bleach solution or isopropyl alcohol (70% concentration works best). Wipe down all surfaces that might come into contact with your kit or tools. This includes countertops, nearby shelves, and even the area where you’ll store your supplies.
Tool sterilization prevents introducing foreign bacteria or mold spores. Flame sterilization works well for metal tools – hold them in a lighter flame until they glow red, then let them cool completely before use. Alcohol wipes offer a quick alternative for tools that can’t handle heat.
Your clothing matters more than most people realize. Wear clean clothes and consider changing into fresh garments before handling your kit. Avoid working after cleaning, gardening, or other activities that might introduce contaminants on your clothing or skin.
Create a sterile workspace by working quickly and decisively. The longer your kit stays exposed to open air, the higher the contamination risk. Prepare everything you need beforehand, then work efficiently to minimize exposure time.
Essential Tools and Supplies You’ll Need
Gathering the right equipment before starting saves time and prevents frustration later. Your basic toolkit doesn’t need to be expensive or complicated, but having everything ready ensures smooth operation throughout the growing process.
A spray bottle becomes your most-used tool for maintaining humidity. Choose one with a fine mist setting rather than a heavy stream. Clean it thoroughly before first use and dedicate it exclusively to your mushroom growing to avoid cross-contamination from previous contents.
Measuring tools help you track progress and maintain consistency. A basic ruler or measuring tape lets you monitor mushroom development, while a simple kitchen scale proves useful for harvest documentation and future planning.
Essential Supply Checklist:
-
Clean spray bottle with fine mist capability
-
Isopropyl alcohol (70% concentration)
-
Paper towels or clean cloths
-
Disposable gloves (nitrile works best)
-
Basic measuring tools (ruler, scale)
-
Room thermometer
-
Timer for tracking schedules
-
Clean storage containers for harvested mushrooms
Storage containers serve multiple purposes throughout the process. You’ll need clean, airtight containers for storing harvested mushrooms, and smaller containers can hold your sterilization supplies organized and easily accessible.
Documentation materials, while not strictly necessary, help track your success and troubleshoot problems. A simple notebook or phone app where you can record daily observations, misting schedules, and environmental conditions creates valuable reference material for future grows.
Keep backup supplies on hand. Extra spray bottles, additional alcohol, and spare gloves mean you won’t need to interrupt your growing schedule for supply runs. This preparation mindset extends to having alternative locations scouted in case your primary growing environment becomes unsuitable.
Step-by-Step Kit Activation Process
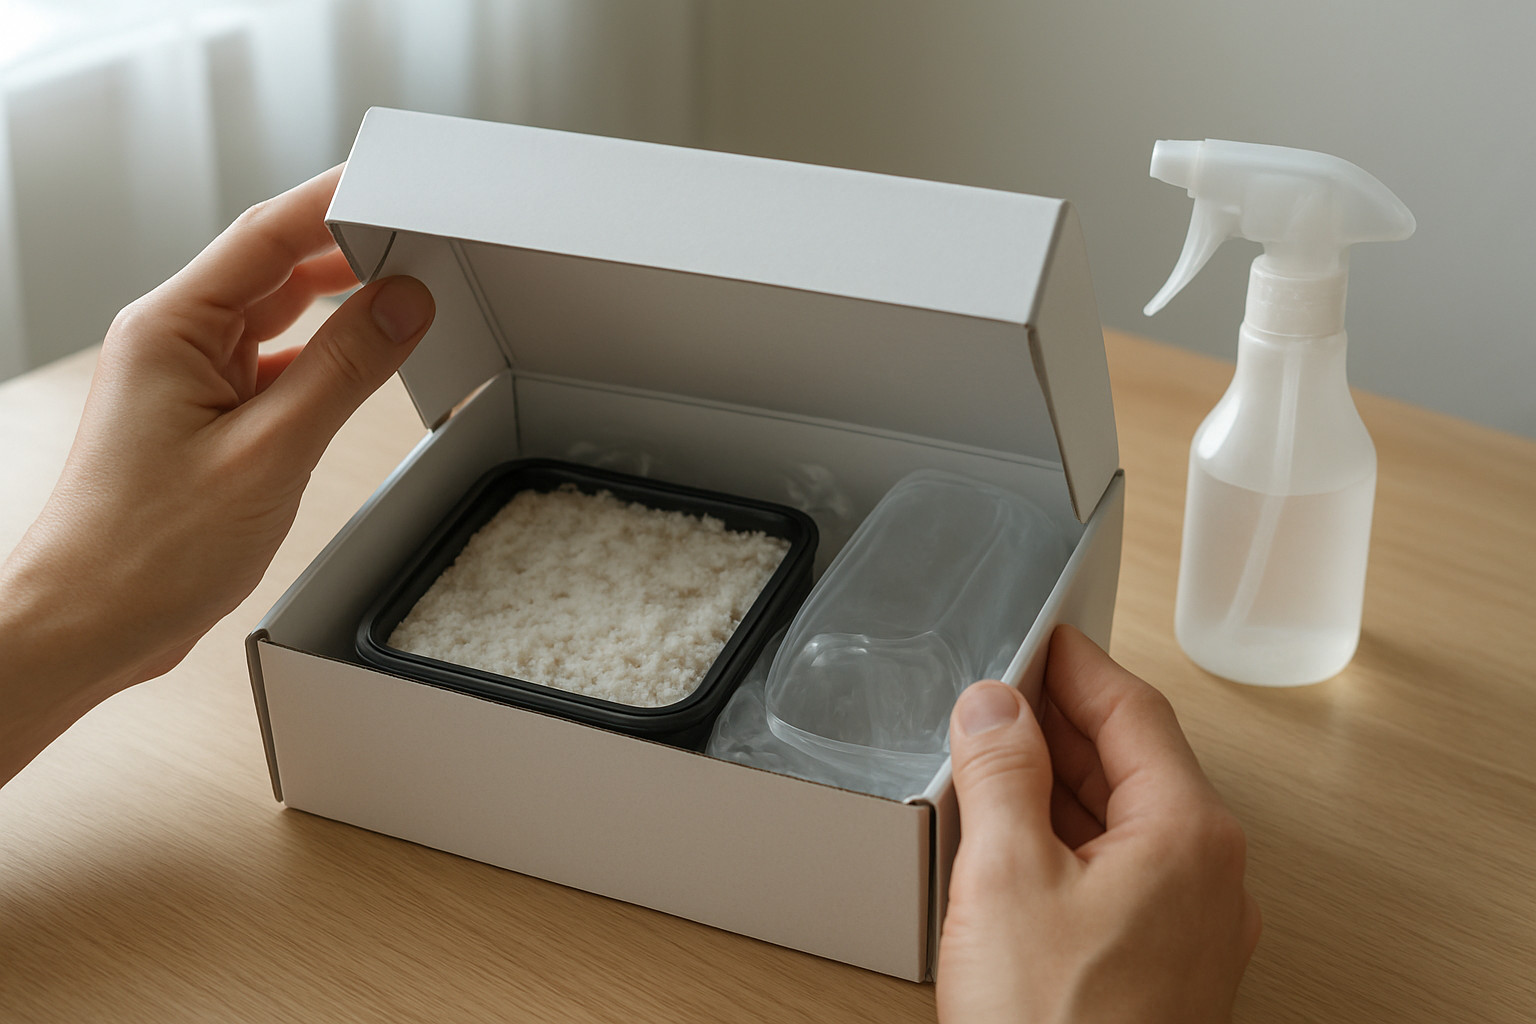
Proper Hydration Methods for Mycelium Blocks
Your mycelium block needs the perfect amount of moisture to trigger fruiting. Start by carefully removing the block from its packaging and examining its surface. The mycelium should appear white and healthy, with no signs of contamination like green or black spots.
Fill a clean container with room temperature water, ensuring it’s deep enough to fully submerge your block. Avoid using tap water if it’s heavily chlorinated – filtered or bottled water works best. Gently place the block in the water, making sure all surfaces get wet. The mycelium will float initially, which is completely normal.
During this hydration phase, the block absorbs water through its porous structure, preparing the mycelium for the energy-intensive process of mushroom formation. You’ll notice the block becoming slightly heavier as it takes on moisture.
Timing Your First Soaking Cycle
The initial soaking period is critical for successful activation. Submerge your B+ mycelium block for 12-24 hours, depending on its size and density. Smaller blocks typically need around 12 hours, while larger ones benefit from the full 24-hour treatment.
Check the block periodically during soaking. After 12 hours, gently lift it to assess weight gain – a properly hydrated block feels noticeably heavier than when you started. The surface should feel slightly spongy but not waterlogged.
Timing matters because under-soaked blocks struggle to produce mushrooms, while over-soaking can lead to bacterial contamination. Room temperature water around 68-72°F provides optimal conditions without shocking the mycelium.
Setting Up Your Humidity Chamber
Create a controlled environment that maintains 90-95% humidity around your freshly soaked block. A clear plastic storage container works perfectly as your humidity chamber. Drill 4-6 small holes about 1/4 inch in diameter around the sides, roughly 2 inches from the bottom.
Place a layer of wet perlite or damp paper towels in the bottom of your container, but keep the mycelium block elevated above this moisture source using a wire rack or inverted container. Direct contact with standing water invites contamination and can damage your mycelium.
Mist the walls of your chamber 2-3 times daily with a fine spray bottle, avoiding direct spraying on the block itself. The goal is maintaining consistent humidity without creating soggy conditions that promote harmful bacteria growth.
Temperature Control Best Practices
B+ mushrooms thrive in temperatures between 70-78°F, with 75°F being the sweet spot for optimal growth. Consistent temperature matters more than hitting exact numbers, so avoid placing your humidity chamber near heat sources that create fluctuations.
Monitor your growing environment with a digital thermometer placed inside the chamber. Basements often provide naturally stable temperatures, while upper floors may require more attention due to heat variations throughout the day.
If your space runs too cool, consider using a heating mat designed for reptile terrariums, placed under one side of your container. This creates a gentle temperature gradient without overheating the entire setup. Temperatures above 80°F stress the mycelium and can reduce mushroom quality and yield.
Daily Maintenance and Monitoring Techniques
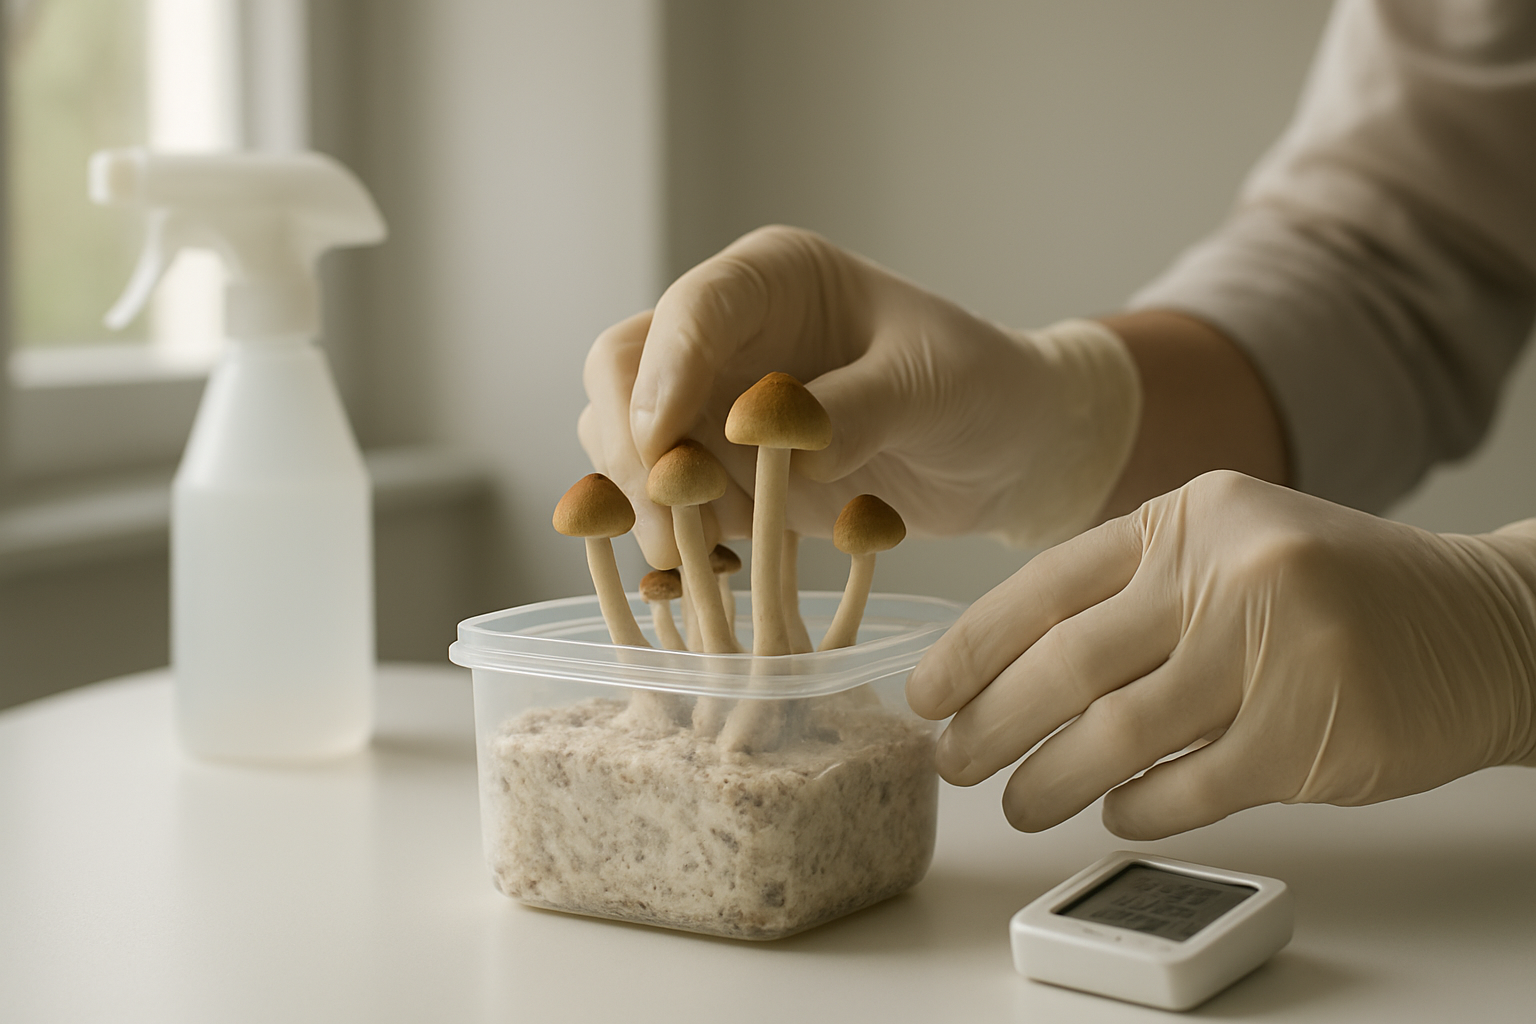
Optimal Misting Schedule and Techniques
Misting frequency depends on your kit’s humidity levels and environmental conditions. Check your B+ mushrooms twice daily – morning and evening works best. Look for tiny water droplets on the substrate surface; when they start to disappear, it’s time to mist again.
Hold your spray bottle 6-8 inches away from the substrate surface. Use fine, gentle mist patterns rather than direct sprays that could damage developing pins. Target the walls of your fruiting chamber instead of spraying directly onto the mycelium. This creates ambient humidity without oversaturating the growing medium.
The substrate should maintain a glistening appearance without pooling water. If you see standing water, you’ve overdone it. Reduce misting frequency and increase air circulation. During initial pinning stages, mist 2-3 times daily. Once mushrooms reach pencil thickness, reduce to once or twice daily to prevent bacterial issues.
Fresh Air Exchange Requirements
Fresh air exchange prevents carbon dioxide buildup that stunts mushroom development. Your B+ mushrooms need oxygen to grow properly, just like any living organism. Stale air leads to elongated stems, small caps, and poor overall yields.
Fan your growing area 3-4 times daily by lifting and lowering the lid of your fruiting chamber. Each fanning session should last 30-60 seconds. This simple action removes excess CO2 while introducing fresh oxygen.
If using a shotgun fruiting chamber, drill holes every 2 inches around the container. Cover holes with micropore tape or polyfill to filter incoming air while maintaining gas exchange. Position holes 2-3 inches above substrate level for optimal airflow patterns.
Watch for signs of insufficient air exchange: long, skinny mushrooms with small caps indicate poor ventilation. Properly ventilated B+ mushrooms develop thick stems and broad, well-formed caps.
Identifying Healthy Growth vs Contamination Signs
Healthy B+ mycelium appears bright white and cottony. Fresh pins start as tiny white bumps that gradually darken as caps develop. Normal growth shows consistent patterns across the substrate surface.
Green, blue, black, or pink coloration signals contamination problems. Trichoderma (green mold) spreads rapidly and smells musty. Penicillium creates blue-green patches with distinct odors. Black mold appears as dark, fuzzy growth that spreads quickly.
Healthy mushrooms maintain firm textures and pleasant earthy aromas. Contaminated areas often smell sour, rotten, or chemically sharp. Trust your nose – fresh mushroom growth smells clean and natural.
Brown or yellow substrate discoloration doesn’t always indicate problems. Some browning occurs naturally as nutrients get consumed. However, combined with off odors or unusual textures, discoloration becomes concerning.
Remove contaminated sections immediately using sterile techniques. Cut away affected areas with clean scissors, extending cuts into healthy tissue. Isolate compromised kits from clean ones to prevent cross-contamination.
Adjusting Environmental Conditions Based on Growth Stage
Different growth phases require specific environmental adjustments. During colonization, maintain higher humidity (95-100%) with minimal air exchange. The mycelium needs moisture to establish strong networks throughout the substrate.
Pinning initiation demands environmental stress triggers. Drop humidity slightly to 85-90% while increasing fresh air exchange. This mimics natural conditions that signal mushrooms to begin fruiting. Temperature fluctuations of 5-10 degrees also encourage pin formation.
Active fruiting requires balanced conditions. Maintain 80-85% humidity with regular air exchange. Too much moisture creates bacterial problems, while too little stunts development. Monitor mushroom growth rates – healthy B+ mushrooms double in size every 24 hours during peak development.
Temperature stability becomes critical during fruiting. Maintain 70-75°F consistently. Higher temperatures accelerate growth but reduce potency. Lower temperatures slow development and may trigger aborts.
Pre-harvest stages need reduced misting frequency. As caps begin flattening and spores prepare for release, decrease humidity to 75-80%. This prevents cap splitting and maintains mushroom quality. Stop misting entirely 12-24 hours before harvest to firm up mushroom textures.
Harvesting Your B+ Mushrooms at Peak Potency
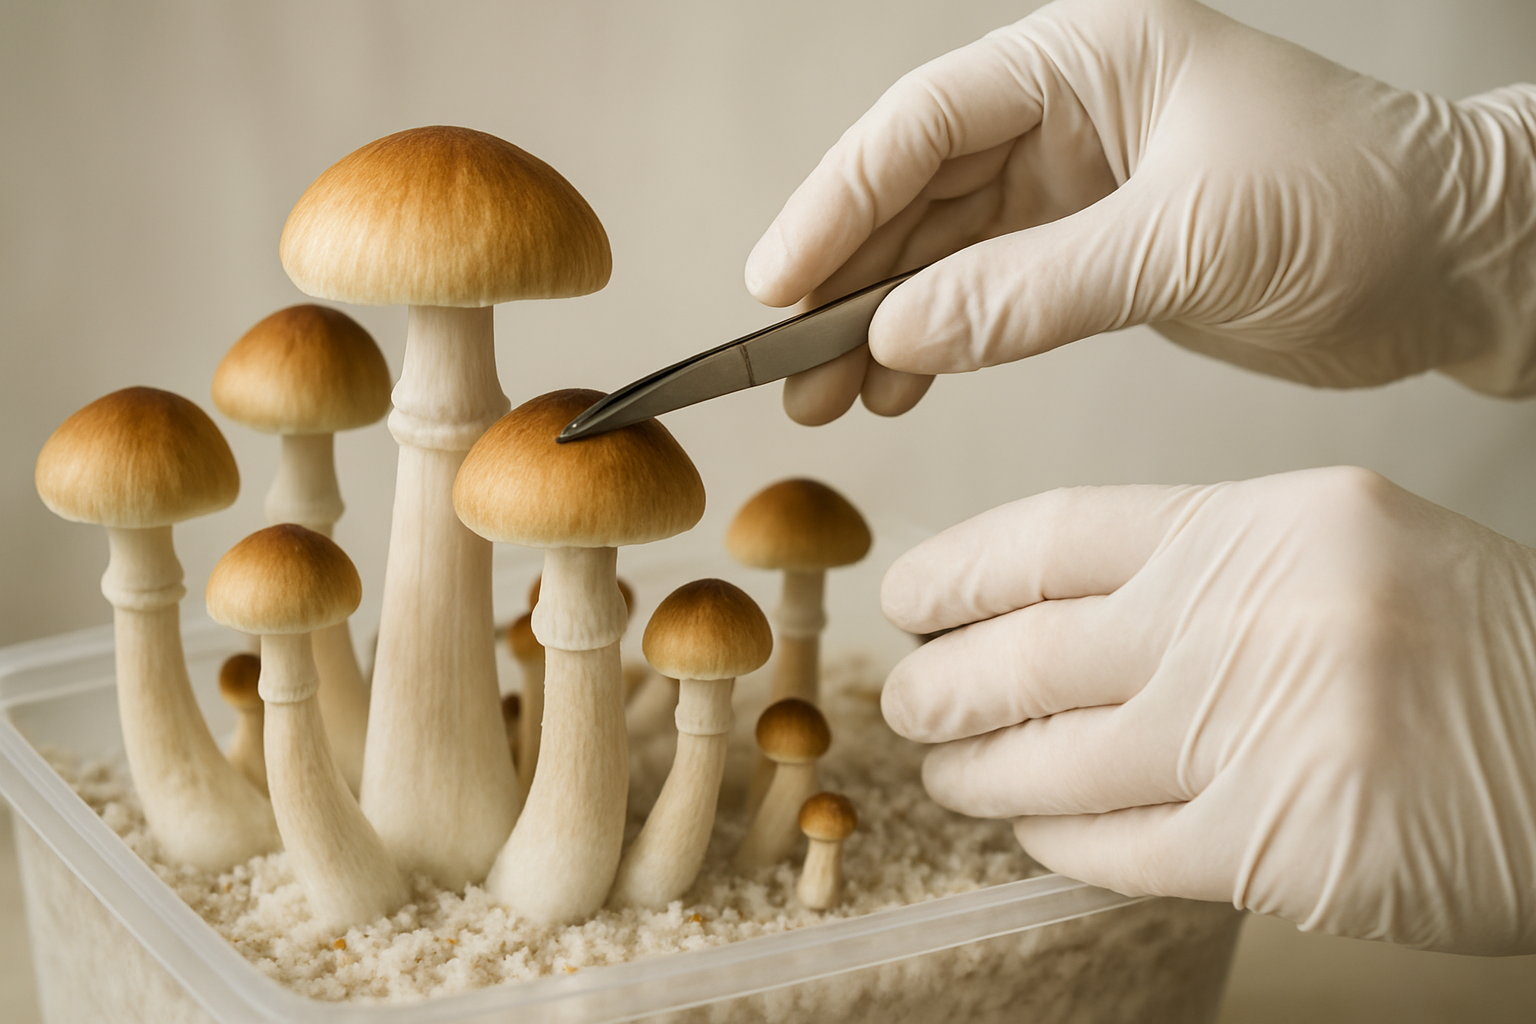
Recognizing Perfect Harvest Timing
Timing your B+ mushroom harvest can make the difference between potent, beautiful mushrooms and overripe specimens that have lost their strength. The sweet spot comes right before the caps fully flatten out and start dropping spores everywhere.
Watch for these key indicators:
-
Cap appearance: Harvest when caps are still dome-shaped or just beginning to flatten. Once they go completely flat, you’ve waited too long
-
Veil status: The thin membrane connecting the cap to the stem should be breaking or just broken. This white veil tearing is your main signal
-
Spore release: If you see dark purple-black spores coating other mushrooms or the substrate, you’ve missed the optimal window
-
Stem firmness: Stems should feel solid and snap cleanly when bent. Soft, squishy stems indicate overripeness
The entire process from pin formation to harvest typically takes 5-7 days. Check your kit twice daily during this crucial period. Early morning inspections work best since mushrooms do most of their growing overnight.
Proper Cutting and Collection Methods
Clean harvesting protects both your current flush and future growth cycles. Contamination at this stage can ruin weeks of careful cultivation.
Essential tools and preparation:
-
Sharp, sterilized knife or scissors
-
Clean gloves or freshly washed hands
-
70% isopropyl alcohol for tool sterilization
-
Collection container (glass or plastic works fine)
Harvesting technique:
Start by sterilizing your cutting tool with alcohol. Grasp the mushroom gently at the base and cut cleanly through the stem, leaving about 1/4 inch of stub attached to the substrate. Avoid pulling or twisting, which can damage the mycelium network underneath and reduce future yields.
Harvest entire clusters at once rather than picking individual mushrooms. This prevents smaller mushrooms from rotting and contaminating the growing area. Cut cluster stems at the same level, keeping the substrate surface as undisturbed as possible.
Post-harvest cleanup:
Remove any remaining stem stubs with sterilized tweezers after 24-48 hours. These leftover pieces can attract mold if left to decompose on the substrate surface.
Maximizing Yield from Each Flush
Your B+ kit can produce multiple flushes over several weeks with proper care between harvests. Each flush typically yields fewer mushrooms than the previous one, but you can still get 3-4 productive rounds.
Between-flush maintenance:
After harvesting, stop misting for 7-10 days to let the substrate recover. This dry period signals the mycelium to prepare for another fruiting cycle. Remove all mushroom debris and sterilize any visible mold spots with a cotton swab dipped in hydrogen peroxide.
Reactivation process:
Resume your regular misting schedule after the rest period. You should see new pins forming within a week. The mycelium often produces mushrooms in different areas during subsequent flushes, so don’t worry if growth patterns change.
Yield optimization tips:
-
Maintain consistent temperature (70-75°F) between flushes
-
Keep humidity levels steady during recovery periods
-
Harvest complete clusters to prevent energy drain on remaining mushrooms
-
Document each flush timing to predict future cycles
Most kits produce their largest mushrooms during the first flush, with subsequent harvests featuring smaller but often more numerous specimens. Total yields typically range from 1-3 ounces dried weight across all flushes combined.
Troubleshooting Common Growing Challenges
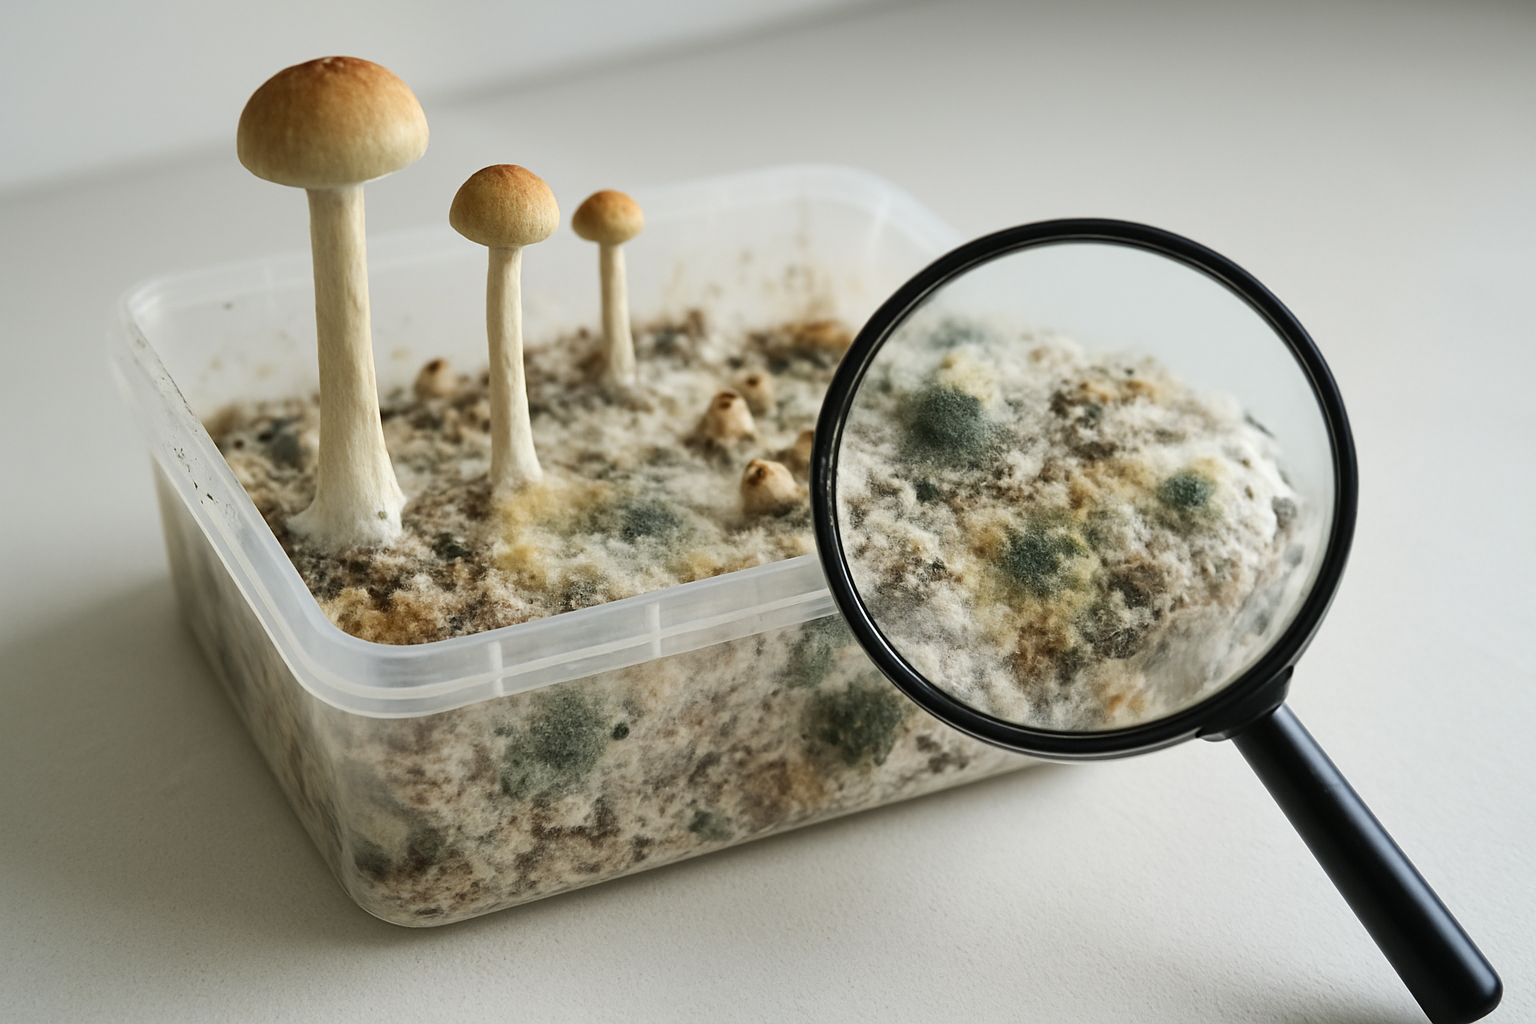
Solving Low Humidity Issues
When your B+ mushrooms start looking dry or pins fail to develop properly, humidity problems are usually the culprit. The ideal humidity range sits between 85-95%, and maintaining this sweet spot makes all the difference in your grow success.
Check your misting technique first. You want to create a fine mist that settles on the walls of your grow chamber, not directly on the mushrooms themselves. Heavy water droplets can damage delicate pins and create dead spots where mushrooms won’t grow. If you notice the substrate surface looking crusty or white, you’re dealing with insufficient moisture.
Quick humidity fixes:
-
Increase misting frequency to 3-4 times daily
-
Add a damp towel around your grow kit container
-
Place a small bowl of water near (not in) your growing area
-
Check that your plastic bag or humidity tent isn’t leaking air
Watch for condensation on your container walls – this tells you humidity levels are on track. No condensation means you need more moisture fast. Some growers add perlite soaked in water at the bottom of their setup for consistent humidity release.
Addressing Slow or Stunted Growth
Slow growth drives every grower crazy, especially when you’re expecting those beautiful B+ flushes. Temperature fluctuations rank as the number one growth killer. B+ mushrooms thrive in steady 70-75°F conditions, and even small temperature swings can slow development dramatically.
Poor air circulation creates another major roadblock. Your mushrooms need fresh air exchange to grow properly, but drafts will dry them out. Create gentle airflow by fanning your grow area 2-3 times daily or leaving small air gaps in your humidity setup.
Growth acceleration strategies:
-
Maintain consistent temperatures with a heating mat
-
Ensure 12+ hours of indirect light daily
-
Fan the growing area gently twice per day
-
Check that your kit hasn’t dried out completely
Light plays a bigger role than most people realize. While mushrooms don’t photosynthesize, they use light cues for direction and timing. Place your kit near a window with indirect sunlight or use a basic LED light on a 12-hour cycle.
If pins form but stop growing, you’re likely dealing with competing environmental factors. Double-check all your conditions rather than changing just one variable.
Dealing with Potential Contamination Problems
Contamination strikes fear into every mushroom grower’s heart, but catching problems early saves most grows. Green, black, or unusual colored patches that aren’t your expected white mycelium signal trouble brewing.
Common contamination types:
-
Green mold (Trichoderma): Bright green patches that spread rapidly
-
Black mold: Dark spots with fuzzy texture
-
Bacterial infections: Slimy, smelly areas on substrate
-
Cobweb mold: Wispy, gray strands that look like spider webs
Green contamination spreads fastest and proves most destructive. If you spot small green areas, immediately isolate your kit and increase air circulation. Sometimes early-stage contamination can be outcompeted by healthy mycelium with proper care.
Prevention beats treatment every time. Keep your growing area clean, wash hands before handling anything, and use sterile water for misting. Avoid touching the substrate directly, and don’t let stagnant water collect anywhere in your setup.
When contamination covers more than 25% of your substrate, the grow is typically lost. However, smaller patches might be manageable with increased airflow and reduced moisture until your next flush cycle begins. Never try to physically remove contaminated areas – this spreads spores and makes problems worse.
Monitor daily for unusual smells, colors, or textures. Healthy B+ grows smell earthy and clean, while contaminated substrates develop sour or rotten odors that signal immediate action needed.
FAQ
How long does it take for B+ mushrooms to grow from the kit?
B+ mushrooms typically take 7-14 days to appear after kit activation, with full harvest ready in 2-3 weeks. Temperature and humidity consistency directly affects growth speed. First flushes usually produce the largest mushrooms, while subsequent flushes grow faster but smaller.
Can I reuse my grow kit for multiple harvests?
Most 100% mycelium kits produce 2-4 flushes before nutrients deplete. After each harvest, soak the substrate for 12-24 hours, drain excess water, and return to fruiting conditions. Each subsequent flush yields smaller but often more potent mushrooms.
What’s the difference between B+ and other strains like Psilocybe azurescens?
B+ mushrooms are beginner-friendly Psilocybe cubensis with moderate potency and forgiving growing conditions. Psilocybe azurescens grows naturally outdoors in wood chips, requires cooler temperatures, and contains significantly higher psilocybin levels, making them more challenging to cultivate indoors.
Why aren’t my mushrooms growing after two weeks?
Common issues include incorrect temperature (should be 70-75°F), inadequate humidity (90-95%), poor air circulation, or contamination. Check for unusual colors, smells, or fuzzy growth. Sometimes mycelium needs more time to colonize fully before fruiting begins.
How do I know when mushrooms are ready to harvest?
Harvest B+ mushrooms when caps flatten out but before spores drop. Look for the veil underneath breaking away from the stem. Caps should feel firm, not squishy. Harvesting at peak prevents spore release, which can inhibit further growth.
Can I store my grow kit if I’m not ready to use it?
Unopened kits stay viable for 3-6 months when refrigerated at 35-40°F. Don’t freeze the kit as this kills the mycelium. Once activated, the growing process can’t be paused, so only start when you can commit to daily maintenance.
What should I do if I see contamination in my kit?
Green, black, or orange spots indicate mold contamination. Isolate the kit immediately to prevent spreading. Small contaminated areas can sometimes be removed with sterile tools, but extensive contamination usually means starting over with proper sterilization techniques next time.
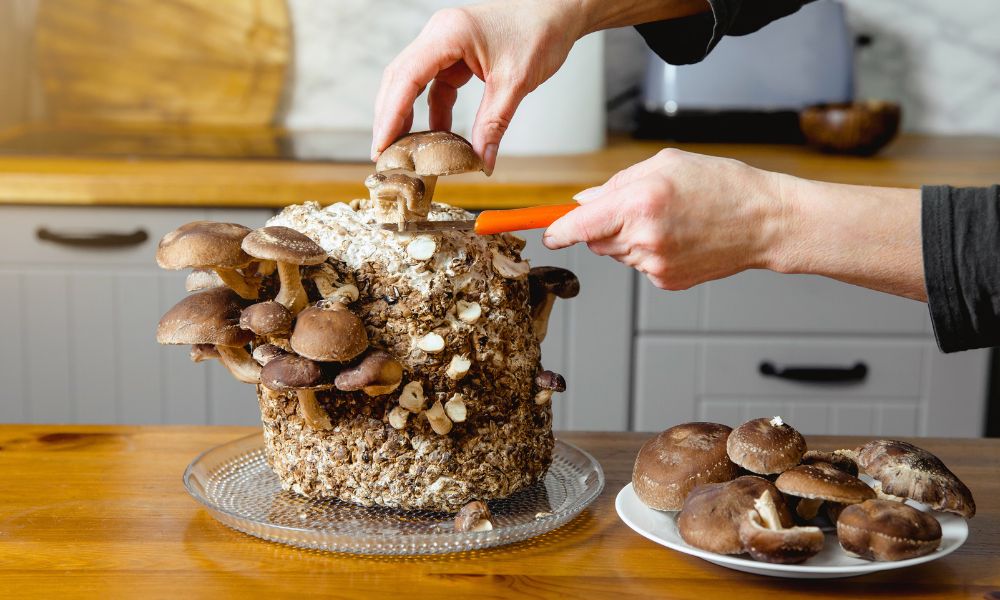
Growing B+ magic mushrooms with a 100% mycelium kit doesn’t have to feel overwhelming once you know the basics. The key is staying consistent with your daily maintenance routine, keeping the right humidity and temperature levels, and knowing when your mushrooms are ready to harvest. Most problems you’ll run into have simple fixes, and with a little patience, you’ll see those first pins start popping up.
Your success really comes down to following the activation steps carefully and not skipping the monitoring part. Trust the process, keep things clean, and don’t panic if something looks off – most issues can be sorted out quickly. Start your growing journey today and enjoy watching your B+ mushrooms develop from tiny pins into full, potent mushrooms ready for harvest.
B+ Magic Mushroom Grow Kit| B+ Magic Mushroom Grow Kit | B+ Magic Mushroom Grow Kit | B+ Magic Mushroom Grow Kit | B+ Magic Mushroom Grow Kit | B+ Magic Mushroom Grow Kit | B+ Magic Mushroom Grow Kit | B+ Magic Mushroom Grow Kit | B+ Magic Mushroom Grow Kit | B+ Magic Mushroom Grow Kit | B+ Magic Mushroom Grow Kit | B+ Magic Mushroom Grow Kit | B+ Magic Mushroom Grow Kit | B+ Magic Mushroom Grow Kit | B+ Magic Mushroom Grow Kit | B+ Magic Mushroom Grow Kit | B+ Magic Mushroom Grow Kit | B+ Magic Mushroom Grow Kit | B+ Magic Mushroom Grow Kit

